
Introduction
There’s just something irresistible about an Oreo — that sweet chocolate crunch, the creamy filling, the way it disappears all too quickly with a glass of milk. But what if I told you these beloved cookies could be transformed into the perfect pie crust? Whether you’re whipping up a chilled summer cheesecake or a rich winter tart, a good Oreo cookie crust is a game-changer.
Growing up, we had “biscotto” crusts at every holiday — usually made from amaretti or savoiardi. But the first time I tasted an Oreo-based crust, I knew this American twist had earned a permanent place in my baking arsenal. It’s the perfect blend of childhood comfort and culinary creativity.
In this in-depth guide, we’ll explore not only how to make Oreo cookie crust (with both baked and no-bake versions), but also how to use it, customize it, store it, and master it like a true dessert pro.What Is an Oreo Cookie Crust?
An Oreo cookie crust is a dessert base made from crushed Oreo cookies and melted butter. It’s an alternative to graham cracker crusts and serves as a sweet, chocolaty foundation for pies, cheesecakes, bars, and frozen desserts.
Unlike traditional pie dough, it requires no flour, no rolling, and no chilling before forming. Just crush, mix, press — and either chill or bake depending on your dessert.
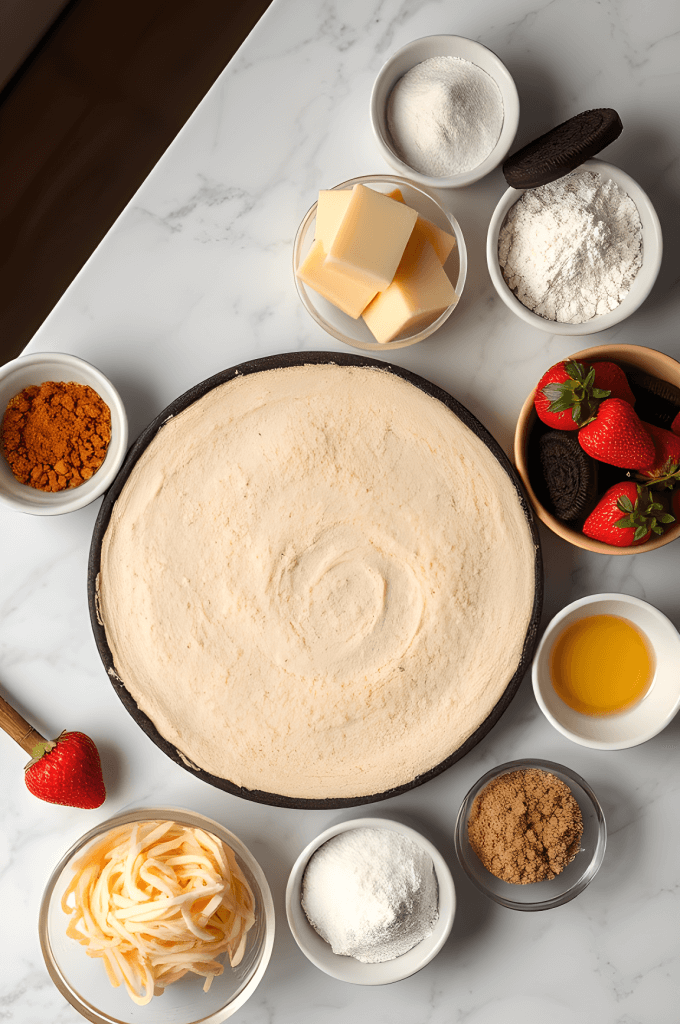
Ingredients
Basic recipe for a 9-inch crust:
- 24 whole Oreo cookies (cream included)
- 5 tablespoons unsalted butter, melted
Optional:
- 1/8 teaspoon salt
- 1 tablespoon sugar (only if you want a sweeter crust)
Method 1: No-Bake Oreo Cookie Crust
Time:
- Prep: 10 minutes
- Chill: 30 minutes
- Total: 40 minutes
Instructions:
- Crush the Oreos — Use a food processor for fine crumbs. No processor? Place cookies in a sealed bag and crush with a rolling pin.
- Mix with Butter — Stir melted butter into crumbs until texture resembles wet sand.
- Press Into Pan — Firmly press the mixture into a pie or tart pan, working up the sides.
- Chill — Refrigerate for at least 30 minutes before filling.
Method 2: Baked Oreo Cookie Crust
Perfect for cheesecakes or pies with runnier fillings.
Time:
- Prep: 10 minutes
- Bake: 8–10 minutes
- Total: 20 minutes
Instructions:
- Follow the steps for crushing and mixing.
- Preheat oven to 350°F (175°C).
- Bake crust for 8–10 minutes until firm and slightly darker.
- Cool completely before filling.
Best Fillings for Oreo Crust
Pair this crust with fillings that either contrast or complement its deep chocolate flavor.
No-Bake:
- Peanut butter cream pie
- Mint chocolate chip ice cream
- Strawberry cheesecake
- Lemon-lime chiffon pie
Baked:
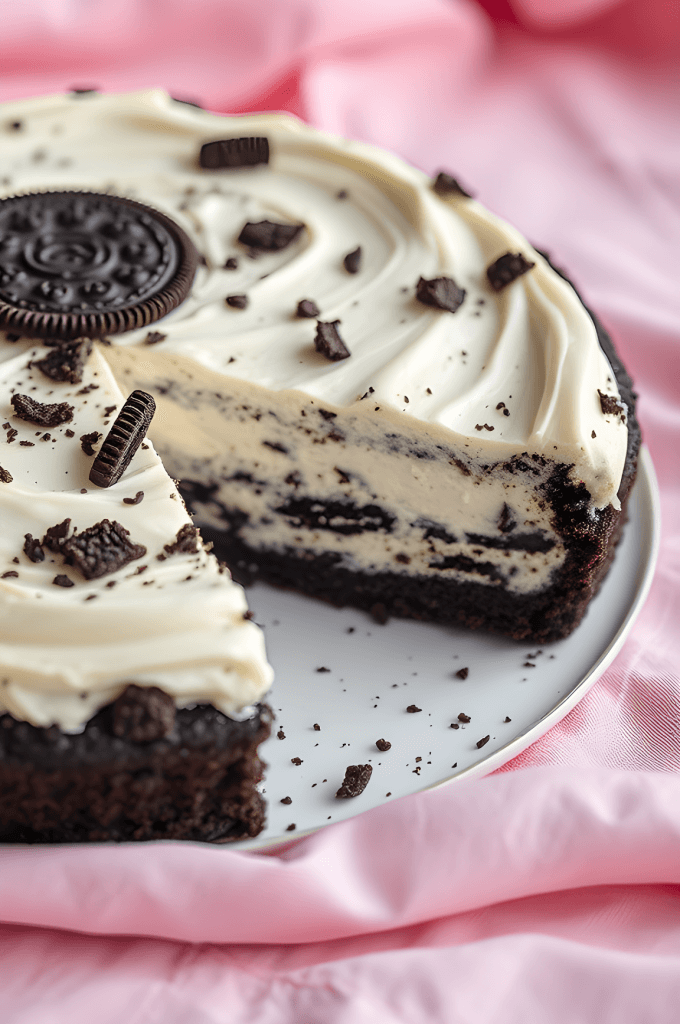
- New York-style cheesecake
- Salted caramel pie
- Chocolate silk tart
- Mocha cream custard
10 Pro Tips for Oreo Crust Mastery
- Use full cookies — Don’t scrape the filling out!
- Cold butter clumps — Always use melted butter for even mixing.
- Press evenly — Use a flat-bottomed glass to avoid weak spots.
- Wrap pan base in foil — Especially with springform pans to prevent leaks.
- Double batch — For deeper dishes, use 32 Oreos + 7 tbsp butter.
- Try mini crusts — Perfect for party-sized desserts.
- Chill longer — For a super firm no-bake base.
- Add flavor to butter — Brown butter or a splash of vanilla = more depth.
- Use parchment circles — For easy removal from tart pans.
- Layer textures — Add crushed pretzels or cereal to the mix!
Oreo Crust Variations
- Golden Oreo Crust: Use golden Oreos for a vanilla base.
- Double Chocolate Crust: Add cocoa powder for a fudge effect.
- Nutty Oreo Crust: Mix in crushed almonds or walnuts.
- Spiced Crust: Add cinnamon, espresso, or cayenne for a unique twist.
Fun & Unexpected Uses
Think beyond pie:
- Ice cream sandwich base
- Mini cheesecakes in muffin tins
- Icebox cake layers
- Cookie crumb trifle layers
- Base for dessert tacos or bars
Want to impress? Make Oreo crust dessert shooters layered in mini glasses with mousse, whipped cream, and fruit.
The Story Behind Oreo Crust
Oreo cookies were born in 1912. Though Nabisco created them as competition for Hydrox cookies, they became a household name. By the 1950s, American bakers began using crushed Oreos in frozen pies and no-bake cheesecakes.
This crust gained momentum in the 1980s as more home bakers experimented with shortcuts and easy crowd-pleasers. Today, you’ll find Oreo crusts in high-end patisseries and summer BBQs alike — it’s that versatile.
Tools You’ll Need
- Food processor or rolling pin
- Mixing bowl
- 9-inch pie or tart pan (or springform for cheesecakes)
- Measuring cups/spoons
- Spatula or spoon
- Glass with flat bottom (for pressing)
Optional: silicone spatula for pressing evenly into edges.
Storage & Freezing
- Unfilled crusts (chilled or baked) can be stored up to 3 days, covered tightly.
- Filled desserts keep according to the filling’s shelf life — most last 3–5 days in the fridge.
- Freeze it — Wrap tightly and freeze for up to 2 months. Thaw before using.
Nutrition (Per Serving — Based on 1/8 of crust)
- Calories: 140
- Fat: 7g
- Saturated Fat: 3g
- Carbs: 18g
- Sugar: 10g
- Protein: 1g
- Fiber: 1g
(Note: Values vary by brand and additions)
Common Questions
Can I use reduced-fat Oreos?
You can, but the texture is drier. Increase butter by 1–2 tablespoons.
Do I need to grease the pan?
Not necessary — the butter in the crust prevents sticking.
What if my crust crumbles when sliced?
Chill longer, and make sure it’s firmly packed before filling.
Can I use this for savory dishes?
Nope! Oreo crust is strictly sweet — but check out savory cracker crusts for options.
Pairing Ideas
- Drinks: Chocolate milk, coffee, espresso martinis
- Toppings: Whipped cream, chocolate ganache, chopped nuts, berries
- Filling add-ins: Chopped candy bars, marshmallows, peanut butter swirls
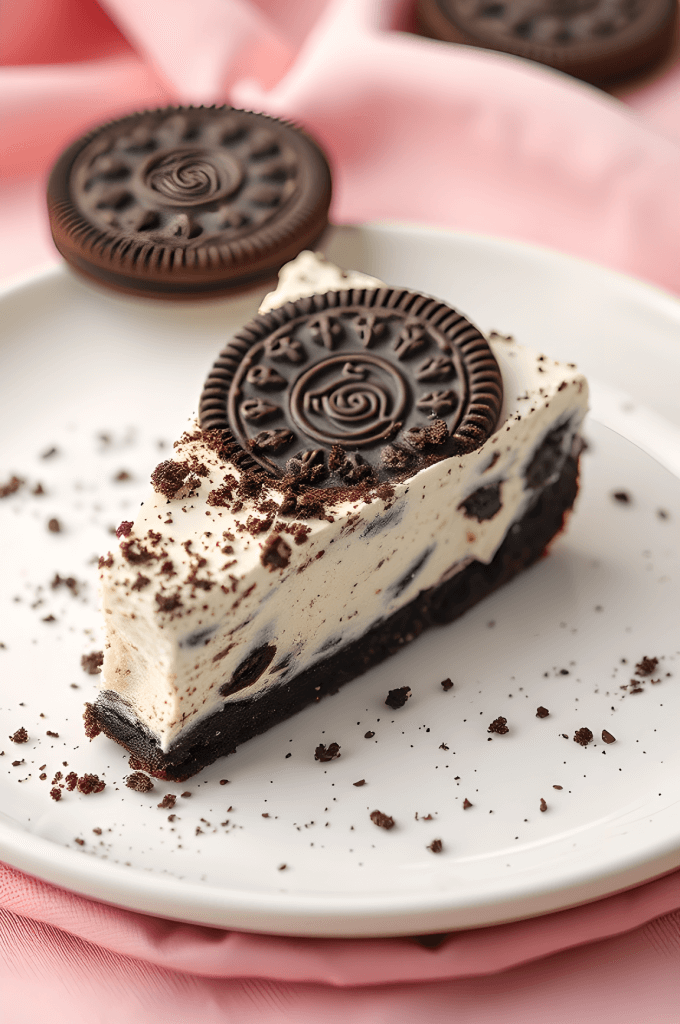
Final Thoughts
A great dessert always begins with a solid foundation — and this Oreo cookie crust delivers every time. It’s fast, foolproof, and totally customizable. Whether you’re hosting a party, baking with kids, or just treating yourself, this crust makes any dessert feel a little more special.
If you try this recipe, I’d love to hear from you! Snap a photo, tag me on Instagram @SarahsKitchenLove, and let’s share our sweet creations together. 🖤