Introduction
If you grew up in the U.S., chances are your lunchbox at least once held a pack of those beloved Zebra Cakes — soft vanilla layers, fluffy cream filling, all wrapped in a sweet white coating with a signature chocolate drizzle. Just one bite brings you right back to simpler times: school lunches, after-school treats, and birthday party goodie bags.
As a classically trained chef with an Italian background, snack cakes weren’t exactly part of our traditional fare — but when I moved stateside, I became obsessed with recreating childhood favorites using real ingredients. This homemade Zebra Cake recipe captures everything we loved about the original — but with richer flavor, a softer bite, and ingredients you can pronounce.
Let’s get baking and bring that striped sweetness back — but better.
What Are Zebra Cakes?
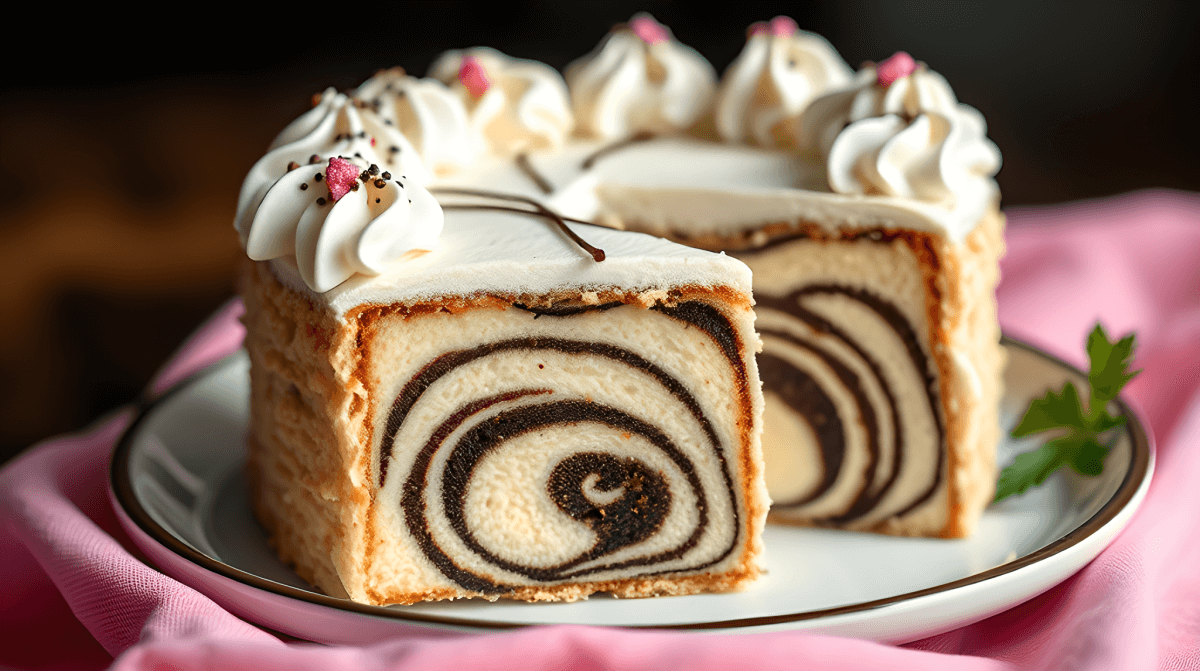
Zebra Cakes are iconic American snack cakes made with layers of fluffy vanilla cake, sweet marshmallow-like filling, coated in white icing, and decorated with chocolate stripes. Created by Little Debbie in the 1960s, they’re still wildly popular today.
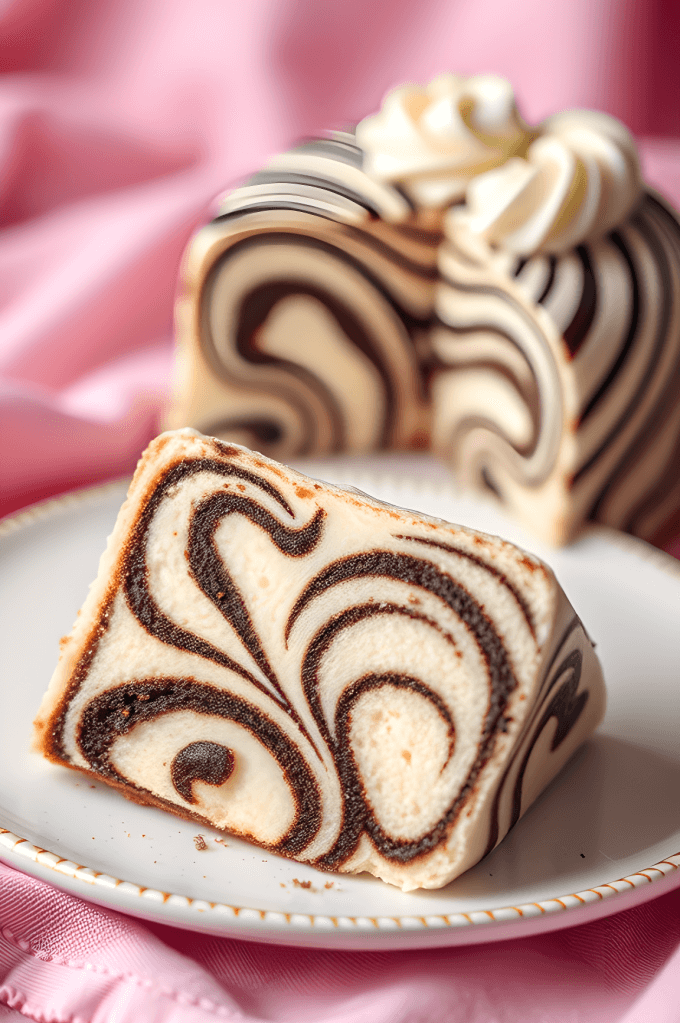
This homemade version is just as cute but tastes way more real. Think moist vanilla sponge, rich buttercream filling, and a smooth, white chocolate shell — with that signature zig-zag on top.
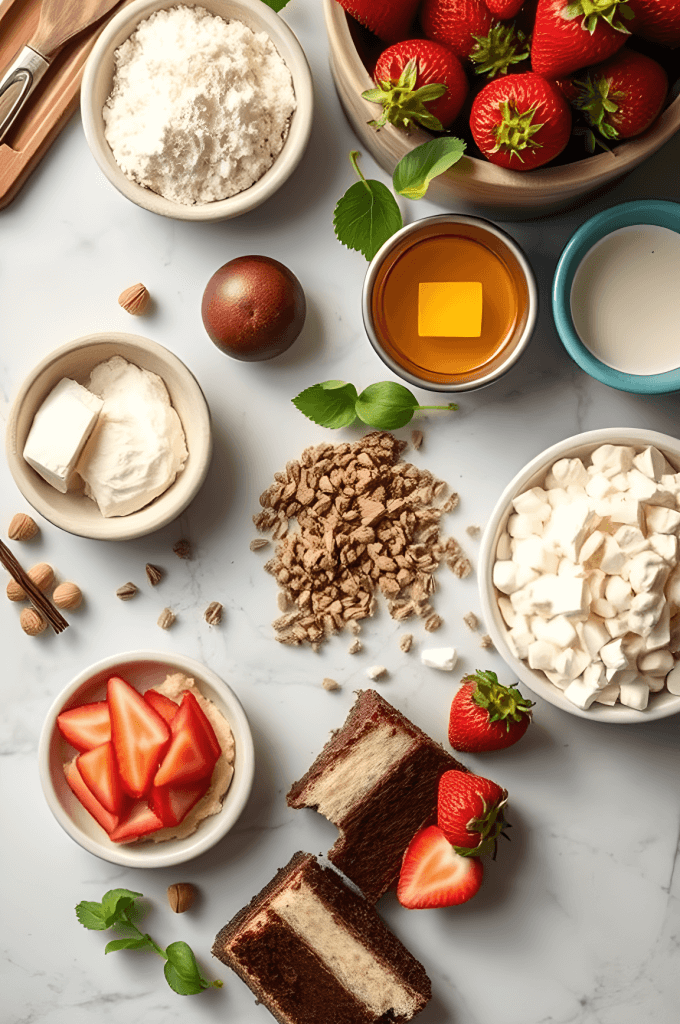
Ingredients
For the Vanilla Cake:
- 1 cup all-purpose flour
- 1/4 cup cornstarch
- 1 1/2 teaspoons baking powder
- 1/2 teaspoon salt
- 1/2 cup unsalted butter, softened
- 3/4 cup sugar
- 2 large eggs
- 1 1/2 teaspoons vanilla extract
- 1/2 cup whole milk
For the Filling:
- 1/2 cup unsalted butter, room temperature
- 1 1/4 cups powdered sugar
- 1 tablespoon milk or heavy cream
- 1/2 teaspoon vanilla
- Pinch of salt
For the Coating:
- 2 cups white chocolate chips or white candy melts
- 1 tablespoon coconut oil (optional, for smoother coating)
For the Chocolate Drizzle:
- 1/4 cup semi-sweet chocolate chips
- 1 teaspoon oil or butter
Time Breakdown
- Prep Time: 25 minutes
- Bake Time: 15–18 minutes
- Assembly Time: 40 minutes
- Total Time: About 90 minutes (plus chilling)
Step-by-Step Instructions
Step 1: Make the Vanilla Cake
- Preheat oven to 350°F (175°C). Line a jelly roll pan (10×15-inch) with parchment.
- In a bowl, whisk flour, cornstarch, baking powder, and salt.
- In another bowl, cream butter and sugar until light and fluffy. Add eggs one at a time. Stir in vanilla.
- Alternate adding dry ingredients and milk until smooth.
- Spread batter evenly into the pan. Bake 15–18 minutes until golden and springy.
- Cool completely. Then cut into 2-inch squares or circles using a cutter.
Step 2: Prepare the Filling
- Beat butter until creamy.
- Slowly mix in powdered sugar, vanilla, salt, and milk.
- Beat until light and fluffy. Chill for 10 minutes to thicken slightly.
Step 3: Assemble the Cakes
- Pair cake pieces by size.
- Pipe or spread 1–2 tablespoons of filling onto one half. Top with the other piece to create a sandwich.
- Place in the fridge or freezer to firm up for 20–30 minutes.
Step 4: Coat in White Chocolate
- Melt white chocolate with coconut oil in a double boiler or microwave until smooth.
- Dip each cake using a fork or skewer, letting excess drip off.
- Place on parchment-lined tray. Let set at room temp or in fridge.
Step 5: Add Chocolate Stripes
- Melt chocolate chips with oil. Pour into piping bag or zip-top bag with tip cut.
- Drizzle over each cake in a classic zebra stripe pattern.
- Let cool completely before serving or storing.
Why You’ll Love This Recipe
- Nostalgic: Just like the snack cakes you loved as a kid!
- Homemade freshness: No preservatives, just pure flavor.
- Fun to decorate: Great for kids, parties, or edible gifts.
- Make-ahead: Keeps well in the fridge or freezer.
Variations & Twists
Make this recipe your own:
Flavor Swaps:
- Add lemon zest to the cake and filling.
- Use almond extract instead of vanilla.
- Add cocoa powder to the cake for a chocolate base.
Fun Fillings:
- Marshmallow fluff + buttercream
- Raspberry or strawberry jam layer
- Chocolate ganache
Creative Coatings:
- Use dark chocolate or colored candy melts for fun themes.
- Add sprinkles or edible glitter on top.

Serving Suggestions
These mini cakes are perfect for:
- Birthday parties
- Lunchbox treats
- Bake sales or potlucks
- Afternoon tea trays
- Gift boxes (wrap in wax paper + ribbon)
Serve cold or room temp with milk, coffee, or tea.
Storage Tips
- Fridge: Store in an airtight container for up to 5 days.
- Freezer: Freeze individually wrapped cakes for up to 2 months. Thaw overnight.
Troubleshooting & Tips
Cake too dry?
- Don’t overbake. Use a light hand when folding ingredients.
Filling oozes out?
- Chill the cakes before coating. A cold cake holds its shape better.
Chocolate too thick?
- Add coconut oil or shortening to thin it out.
Stripes too messy?
- Let coating set slightly before drizzling. Use a piping tip or toothpick for cleaner lines.
Tools You’ll Need
- Jelly roll pan (10×15)
- Stand or hand mixer
- Parchment paper
- Cookie cutters or square knife
- Double boiler or microwave-safe bowl
- Piping bags or zip-top bags
- Cooling rack
Nutrition Info (Per Cake — Approximate)
- Calories: 310
- Fat: 18g
- Sugar: 26g
- Carbs: 36g
- Protein: 3g
Frequently Asked Questions
Can I make these gluten-free?
Yes — use a 1:1 gluten-free flour blend. Add 1/4 tsp xanthan gum if not included.
Can I make one big Zebra Cake?
Absolutely! Bake in two round 8-inch pans, stack with filling, coat, and slice.
Do I have to use white chocolate?
No — candy melts or almond bark work well too. Just aim for smooth melting.
Can I make them ahead?
Yes! Assemble and chill a day ahead for best results.
Final Thoughts
Zebra Cakes aren’t just dessert — they’re memory-makers. Whether you’re recreating a childhood favorite or discovering them for the first time, this homemade version hits all the right notes: soft, sweet, and impossibly fun.
They’re simple enough to make with kids, cute enough to impress guests, and delicious enough to keep coming back to. So put on your apron, grab your whisk, and get ready to stripe your way into snack cake heaven.
And if you make them, I’d love to see! Tag your creations with #SarahsKitchenLove and spread the zebra-striped joy 🦓